Workspaces
Switch between the workspaces you belong to and go straight into the one you pick.
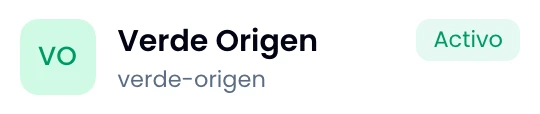
Switch workspace from here with the switch button on the workspace you want to move to: Nest takes you to its home and the address changes with you, carrying the new workspace's identifier. Jump to any other app from the rail afterwards and you stay in that same workspace. The workspace you are already in carries the active badge instead of that button.
The workspace you pick here is also the one you land in when you open any app by its address alone. See Workspaces.
For each workspace you see the logo, the name, the identifier used in URLs, your role and how many people are inside.
Creating a workspace
Create a new workspace when the business needs an account of its own. A workspace is a billing and data unit, not a folder: every new workspace is a separate account.
The form asks for a name and proposes an identifier from it, which you can overwrite. That identifier goes in the URLs and Nest does not let you change it later. Check the preview of the name and the address before saving.
Save and Nest drops you inside the new workspace, on its home. From there you invite your people and set the workspace up.
If you cannot see the create button, that permission belongs to platform administrators, not to the owner of a workspace. Ask one of them to create the workspace for you.
If you belong to no workspace, ask someone in the one you are going to work in for an invitation. The apps run inside a workspace.